Features > Analytics
Why Google Analytics?
There are many analytics tools available, but Google Analytics is still an excellent choice. It provides a comprehensive set of features that can help you understand your website's performance and user behavior.
Of course, there are other alternatives like Fathom and Simple Analytics that might be simpler to set up initially. However, we don't want you to miss out on the powerful features that Google Analytics offers and ease of integrating 3rd party tools, trackers, and plugins in case you want to go beyond the basics. So we've chosen to simplify the integration of Google Analytics into your project rather than limiting your options down the road.
Setup
Google Tag Manager:
1. First thing, create a Google Tag Manager account. Then, create a new container for your website and follow the instructions to get your Google Tag Manager ID.
2. Then, inside your [Accounts] tab, click on [+ Create account].
3. On the creation page, fill in your Account Name , Country and Container name. Then, select the target platform(Web). Then click on [Create].
4. After creating the container, you will be redirected to the container page. Near the top of the window on your workspace, find your container ID, which is a string of the form GTM-XXXXXXX.
🗒️ Google Tag Manager
Google Tag Manager is a tag management system that allows you to quickly and easily update tags and code snippets on your website. For example, you can add and update Google Analytics, Facebook Pixel, and many other tags without editing your website code.Google Analytics:
1. Create a Google Analytics account.
2. Create a new property under your [Admin] tab, click on Create Property. for your website, then add a data stream for your website(i.e. enter your website URL).
3. After creating your property and entering your data stream, search for your Measurement ID in the Search bar and copy it. It should be in the format of G-XXXXXXX.
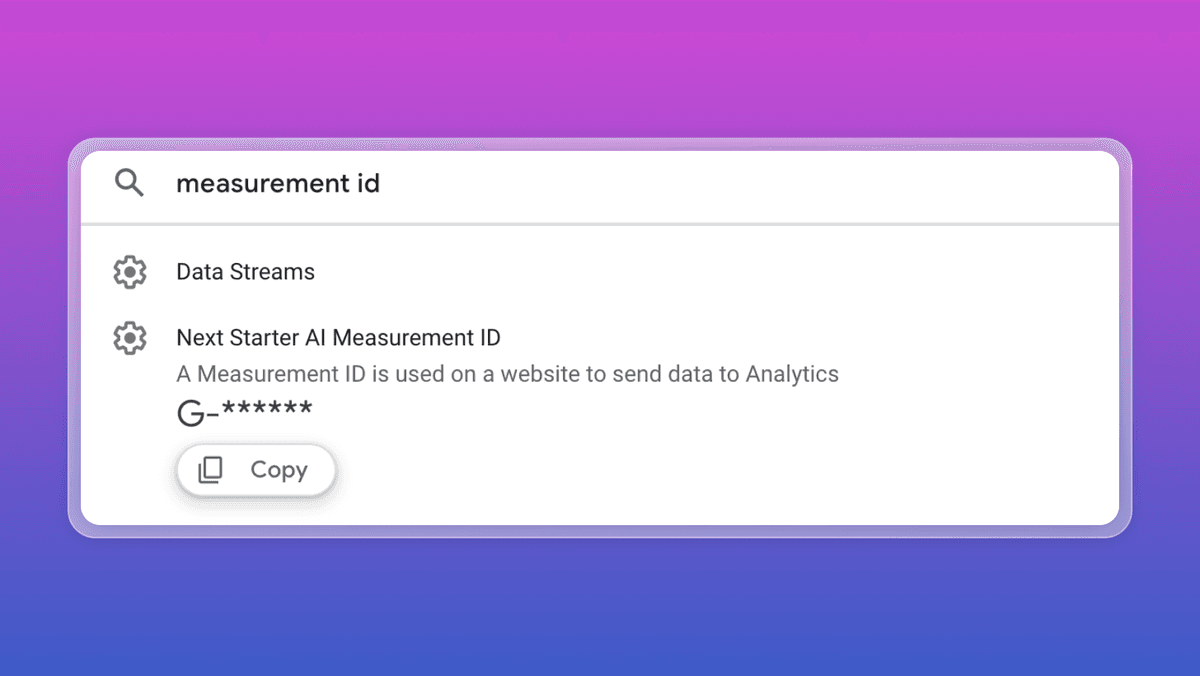
We will use this Measurement ID to link Google Analytics to Google Tag Manager.
Linking Google Analytics to Google Tag Manager
1. Open your Google Tag Manager account and click on your container.
2. Click on Tags and then click on New to create a new tag.
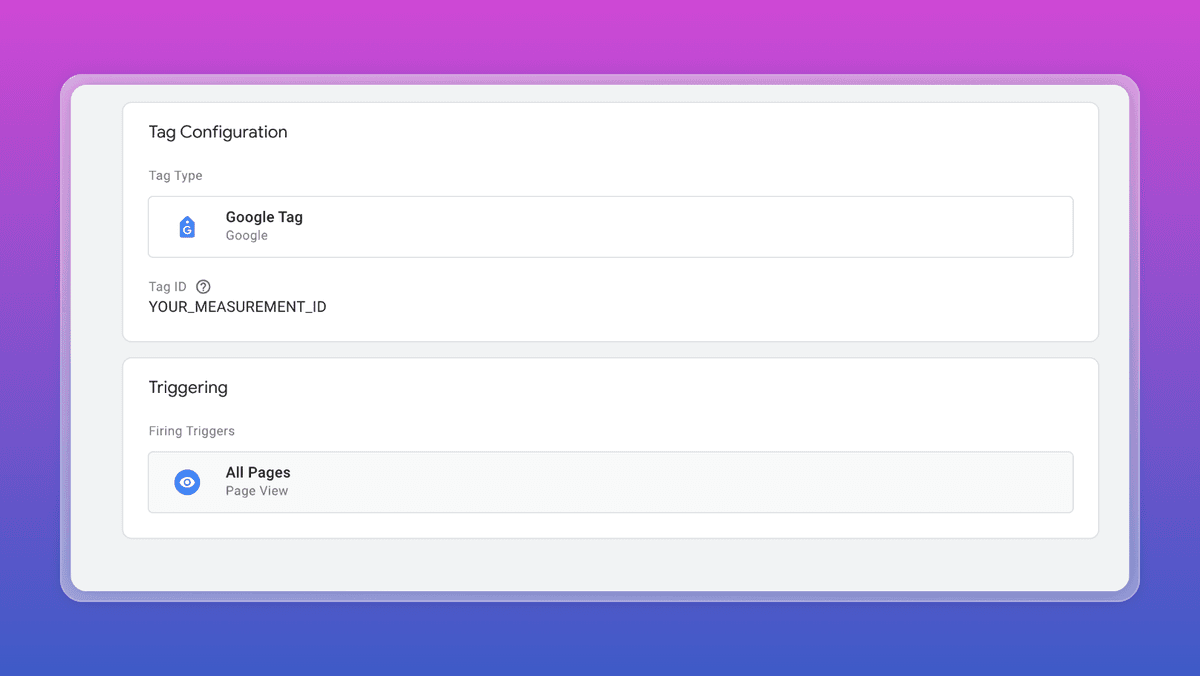
3. Click on Tag Configuration and select Google Tag.
4. In the field Tag ID, paste the Measurement ID you copied from Google Analytics.
5. Click on Triggering and select All Pages, so that the tag is triggered on all pages of your website. Then save it.
Congrats on linking Google Analytics to Google Tag Manager! 🎉 Now, let's fire up your first events and add custom ones to track user behavior and optimize metrics. Understanding user actions is key to constantly improving your apps performance.
📌 Data
Data driven decisions are the best decisions. Let's continue to set up our first event inside our Google Tag Manager account and how to integrate it into our NextStarter project🚀Setting up Events
1. Inside your Google Tag Manager account, click on your container.
2. Click on Tags and then click on New to create a new tag.
3. Click on Tag Configuration and select Google Analytics: GA4 Event.
4. In the field Tag ID, paste the Measurement ID you copied from Google Analytics.
5. Click on Triggering and select All Pages, so that the tag is triggered on all pages of your website. Then save it.
1. Inside your NextStarter project, open the GTMProvider file located in /components/GTMProvider and add your GTM ID.
1
2  ...
3  const tagManagerArgs = {
4    gtmId: 'GTM-YOUR_ID'
5  }
6  ..
7
2. Inside your App Layout, put in your GTMProvider component.
1
2  return (
3    <html
4      lang="en"
5      data-theme={isDarkMode ? "dark" : "light"}
6      className={cx(font.className, "h-[100%]")}
7    >
8      {config.domainName && (
9        <head>
10        </head>
11      )}
12      <GTMProvider />
13      <body className="h-[100%]">
14        {/* ClientLayout contains all the client wrappers (Crisp chat support, toast messages, tooltips, etc.) */}
15        <ClientLayout>{children}</ClientLayout>
16      </body>
17    </html>
18  );
19};
20
Create a custom event
Now, let's create a custom event to track whether a user has clicked on a specific button on your website. For example, let's say you want to track when a user clicks on a checkout button.
1. Locate the button you want to track and add an onClick event to it.
2. Inside the onClick handler function event, push the event to the data layer.
1
2    const handlePayment = async () => {
3      // custom proceed checkout event for Google Analytics
4      (window as any).dataLayer.push({
5        event: "proceed_checkout"
6      });
7
3. Inside your Google Tag Manager container, click on Triggers and then click on New to create a trigger.
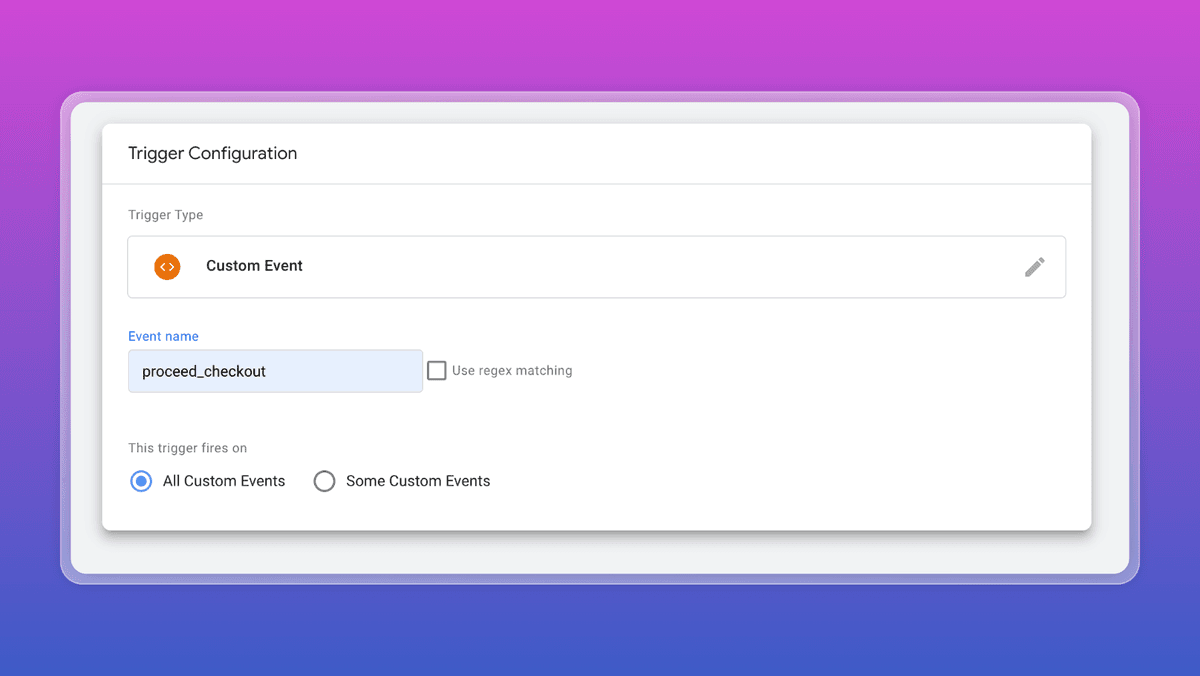
4. Click on Trigger Configuration and select Custom Event.
5. In the field Event Name, enter the name of the event you want to track. For example, proceed_checkout.
6. Select "All Custom Events" and save it.
6. Click on Tags and then click on New to create a new tag.
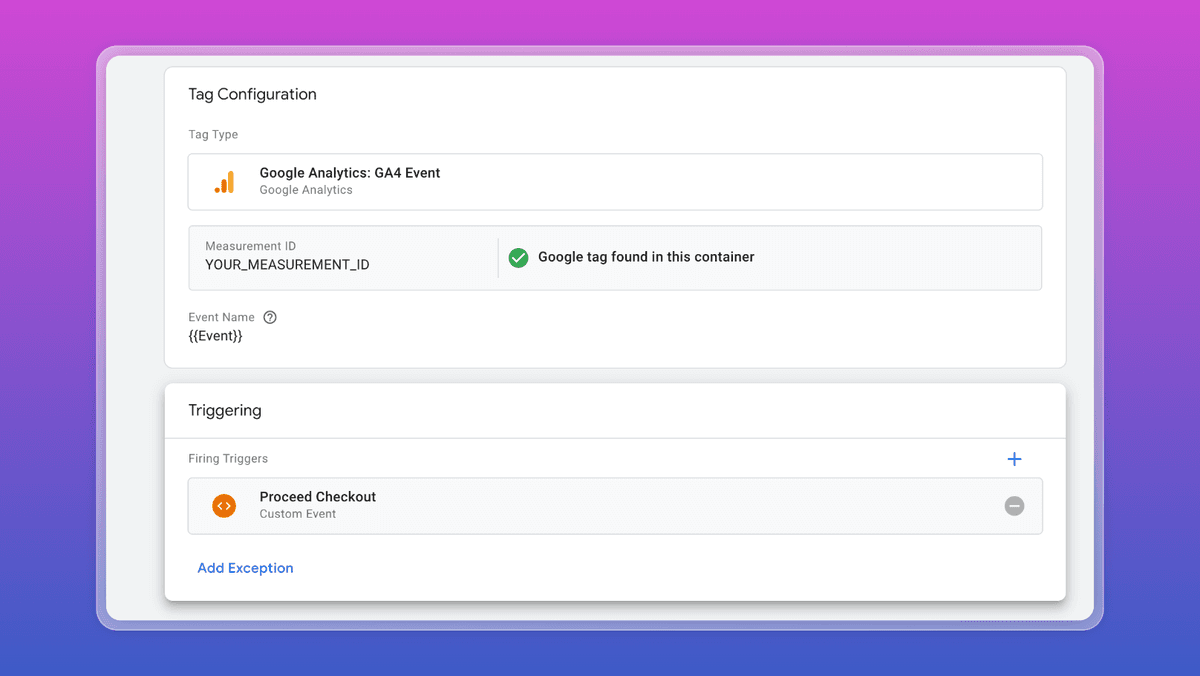
7. Click on Tag Configuration and select Google Analytics: GA4 Event.
8. In the field Tag ID, paste the Measurement ID you copied from Google Analytics.
9. Click on Triggering and select the trigger you created earlier. Then save it.
Now, when a user clicks on the checkout button, the event will be pushed to the data layer and then sent to Google Analytics.
Good news is we've already implemented this custom event in the ButtonCheckout component. So, if you haven't already checked it out, make sure to do so🚀