Features > Database
We have already created migration scripts to help you set up your database easily and automatically. You can find the file in the /supabase/migrations/ folder. This doc shows how to run migrations on a Supabase project in less than 5 minutes!
Prerequisites
Before you begin, make sure you have the following:
- -> Create a new project on Supabase if you don't have one.
- -> Node.js and npm installed. These are required to install the Supabase CLI
🗒️ Supabase CLI Docs
If you encounter any issues, you may want to check out the Supabase CLI Docs
Setup
1. First, you need to install the Supabase CLI. Open your terminal and run the following command:
1npm install -g supabaseThis will install the Supabase CLI globally on your machine, allowing you to use it from anywhere in your terminal.
2. After installing the CLI, you need to log in to your Supabase account:
1supabase loginFollow the prompts in your terminal to log in. This step ensures that your CLI is able to interact with your Supabase projects.
3. Navigate to the root of your repository where you have initialized a Supabase project. If you haven't initialized one yet, you can do so by running:
1supabase init4. With your Supabase project initialized and your migration files ready, you can now apply migrations to your database:
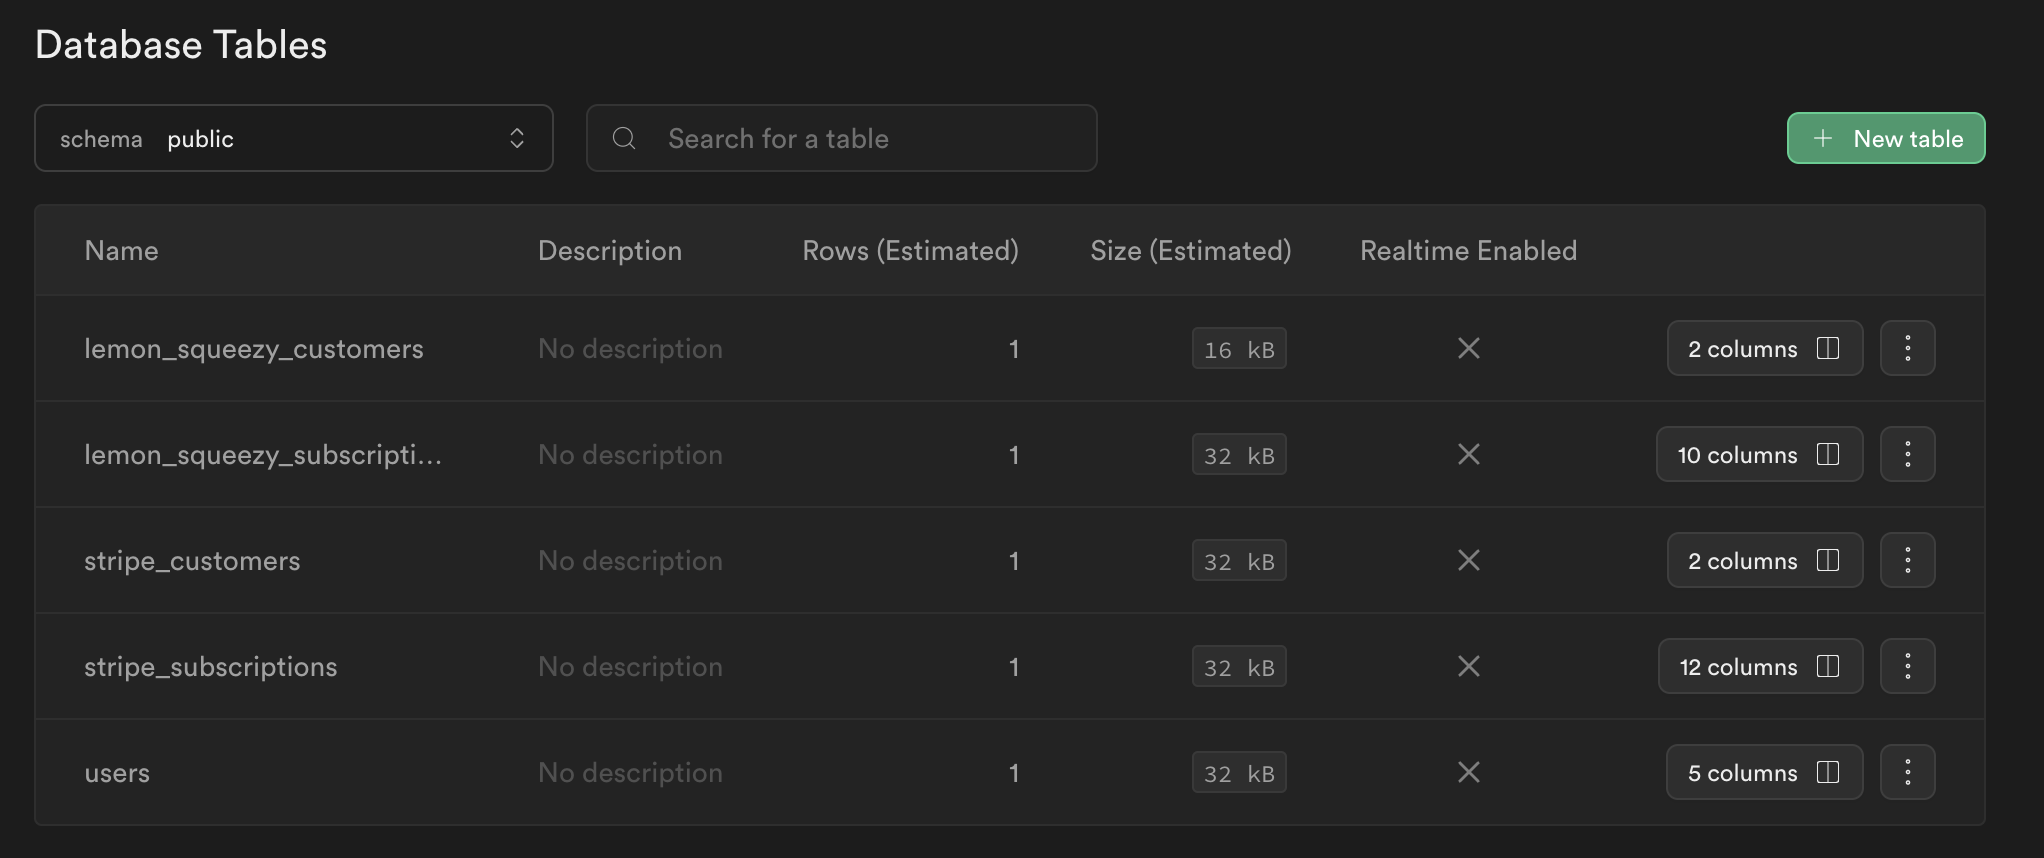
1supabase db push5. Below tables should be created in your supabase project 🎉